
My Home Office Build, Part 1: Groundwork
Planning a garden office, running power and network cables, and pouring the concrete base.
Update, October 2026: four years after starting this post, I’ve finally finished writing it up! The build is now split into four parts, from digging the first trench to what it’s like to work in the finished office.
This wasn’t my first DIY project. Let’s not pretend that I suddenly knew how to build this without several years of increasingly more complex projects.
It all started when we moved house in August 2020. After 9 months waiting to move in (and therefore not doing any work on the house we were selling) we needed to “redecorate” our new house. This involved laying some new wooden flooring, painting and re-finishing a fireplace. These are fairly simple tasks for a “keen DIYer” and I have no doubt that anyone reading this could have a good go at these and be happy with the results.
Things got increasingly more complex from there. First it was building a window seat:
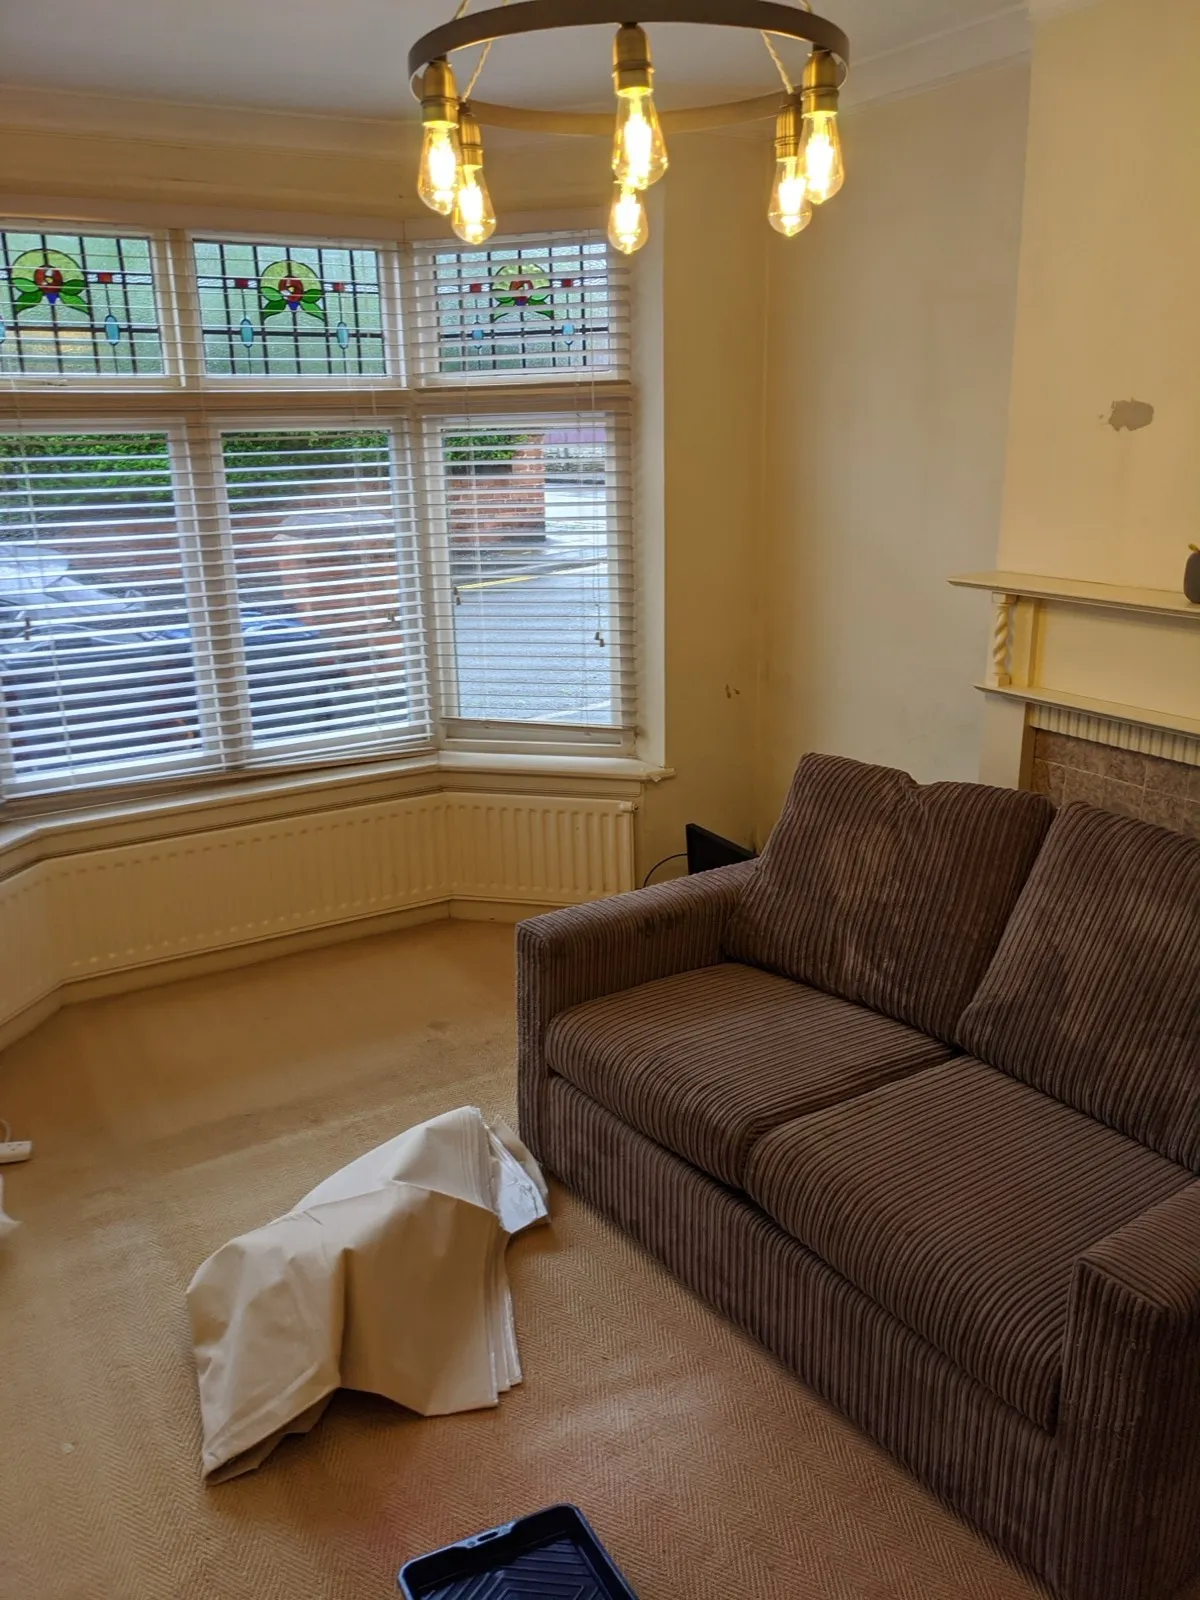
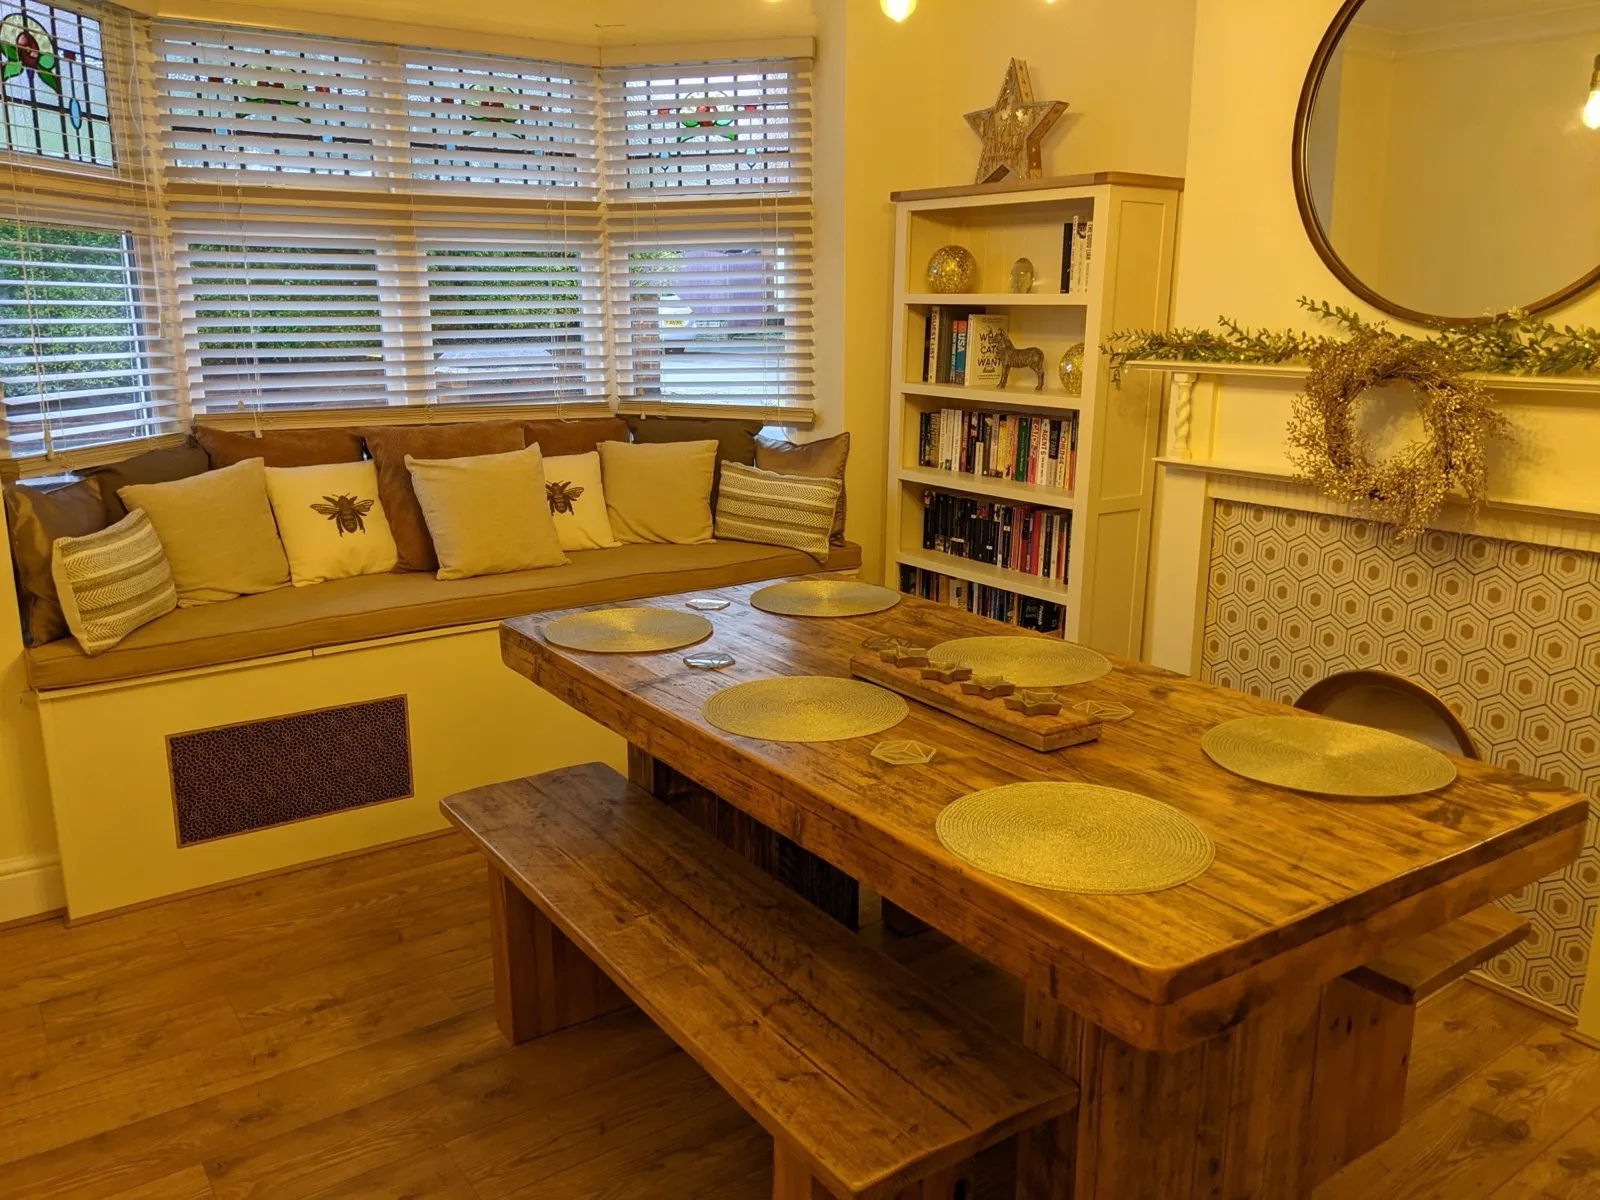
This really opened my eyes to how even more complex projects were within my skill level.
In the following months I re-built our fish pond (bricklaying) and totally refitted our bathroom. Took everything out, including the flooring, walls, shower and then re-fitted everything.
The Office
I was already very privileged to have a dedicated room inside the house we purpose fitted to be my office.
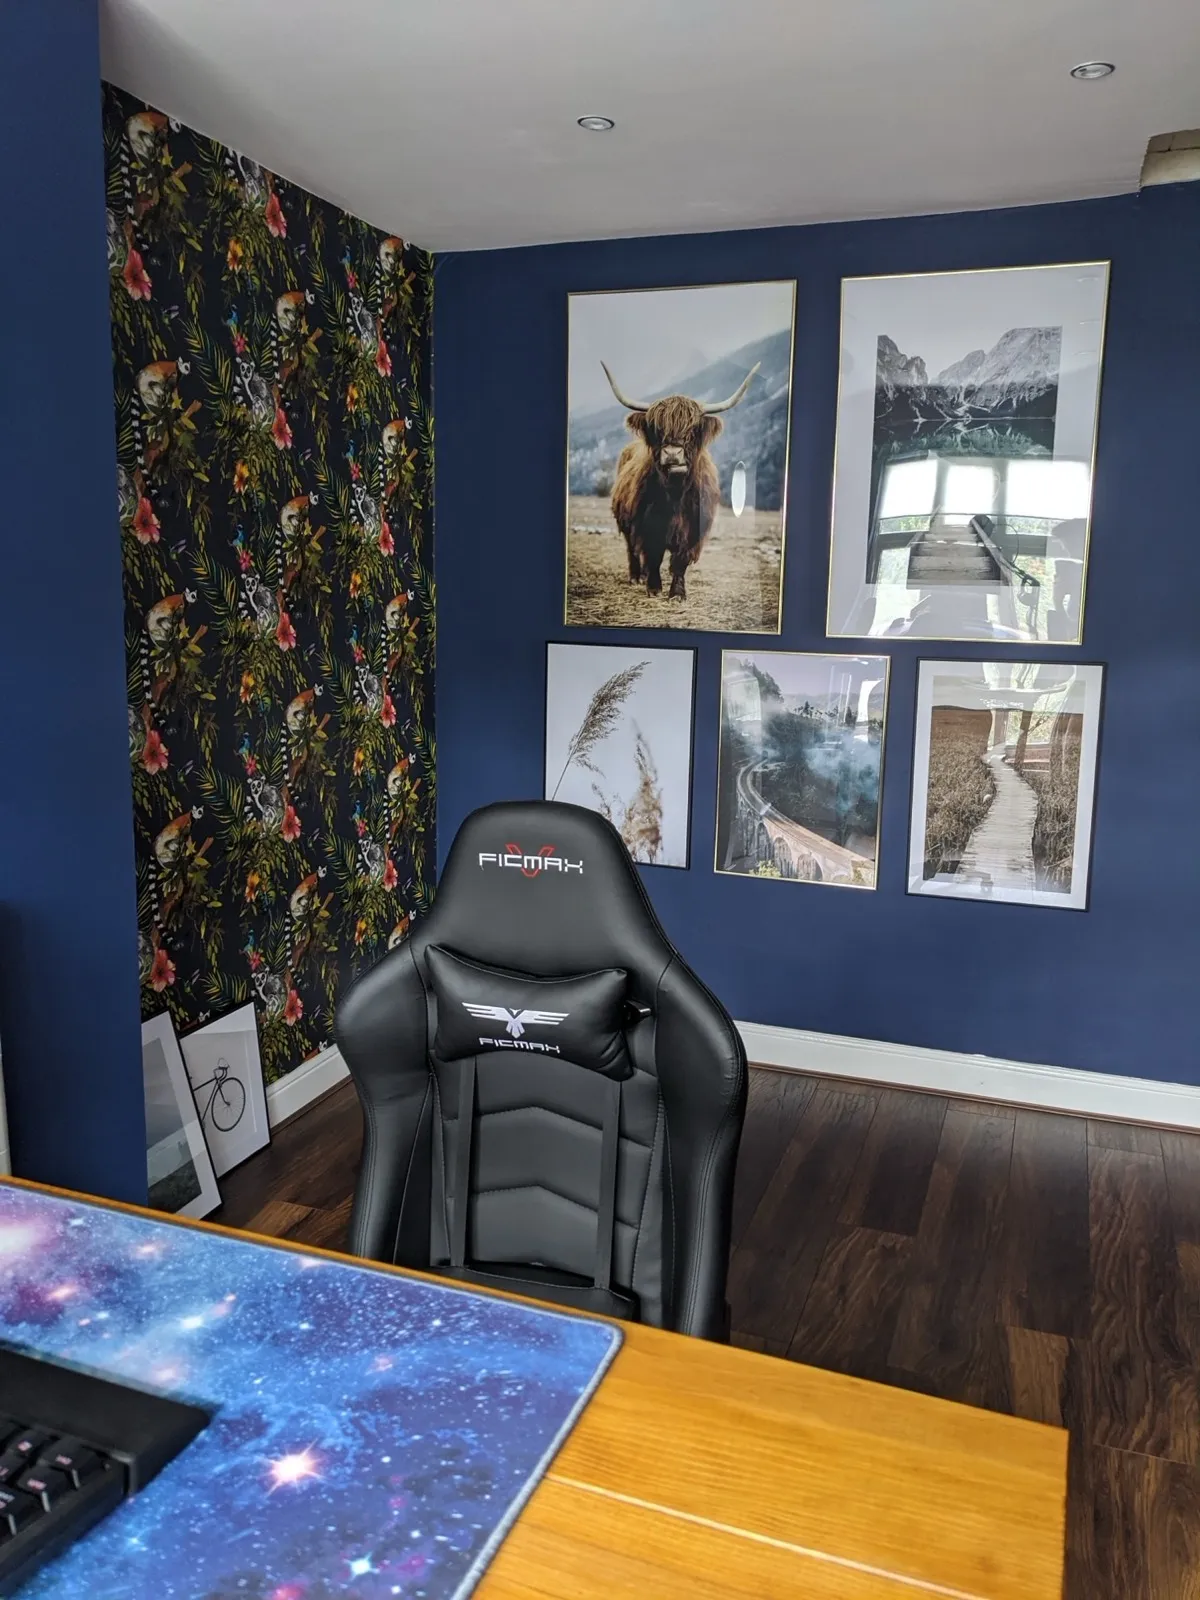
However, I like to have a project on the go!
My general plan was to build a 4m x 3m office at the end of the garden. I didn’t really have more plans than this when I started and knew I needed to lay a base as the first step.
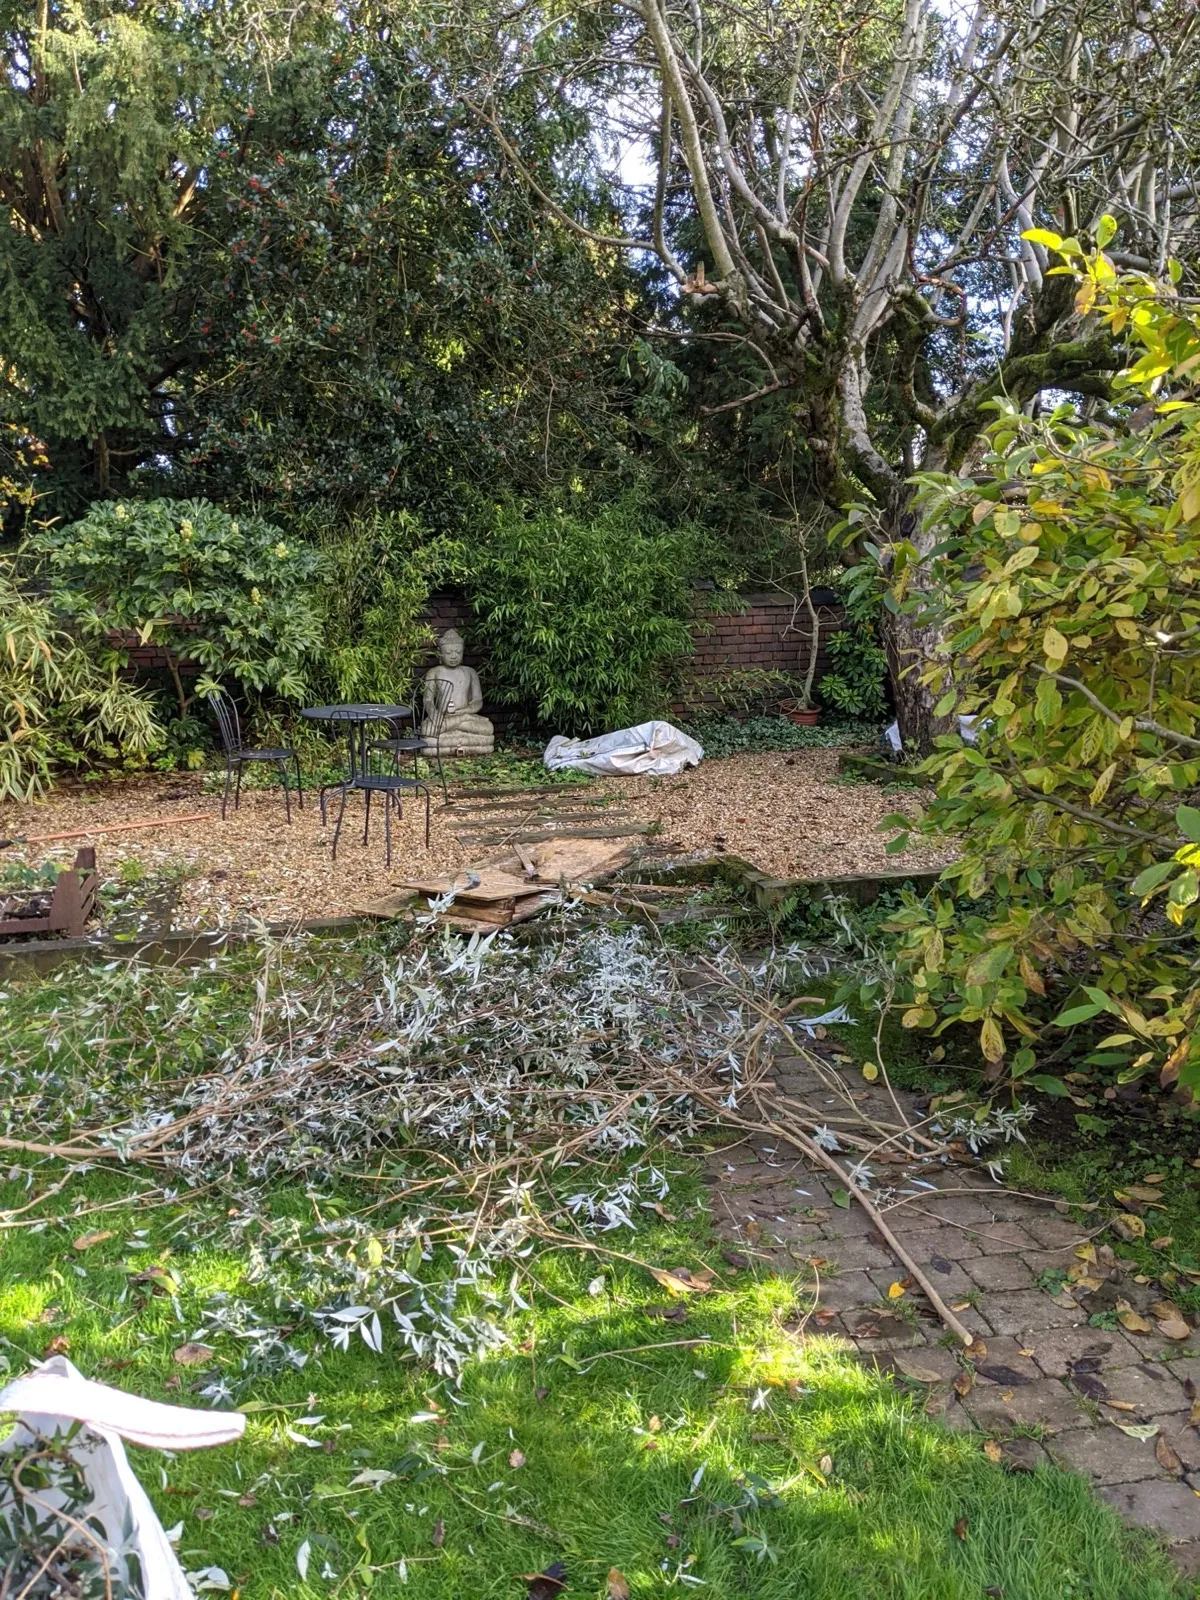
This is the spot I picked, to the left of the row of sleepers (in the gravel). Before anyone asks, the tree had unfortunately died from a fungus and was cut down.
Getting started
Pick a spot large enough to house your building!
I’m based in the UK and the rules around garden buildings are complicated. Make sure you know what permits/permissions you need before you start to avoid having to tear down your new building!
Power & Internet
2-4 days (spade, cables, a professional electrician)
I decided to build the office at the bottom of the garden. I got my electrician to run a large armoured cable from the fuse-board in the house down to the garden
Make sure to get a professional to install any electrical cables, they need to be rated for outdoors and you may need to have your house electrics upgraded to be safe too!
Once the electrician had connected the cable to the house (and terminated it at the end of the garden in an outdoor socket so I could easily get power while doing the work) the cable needed burying!
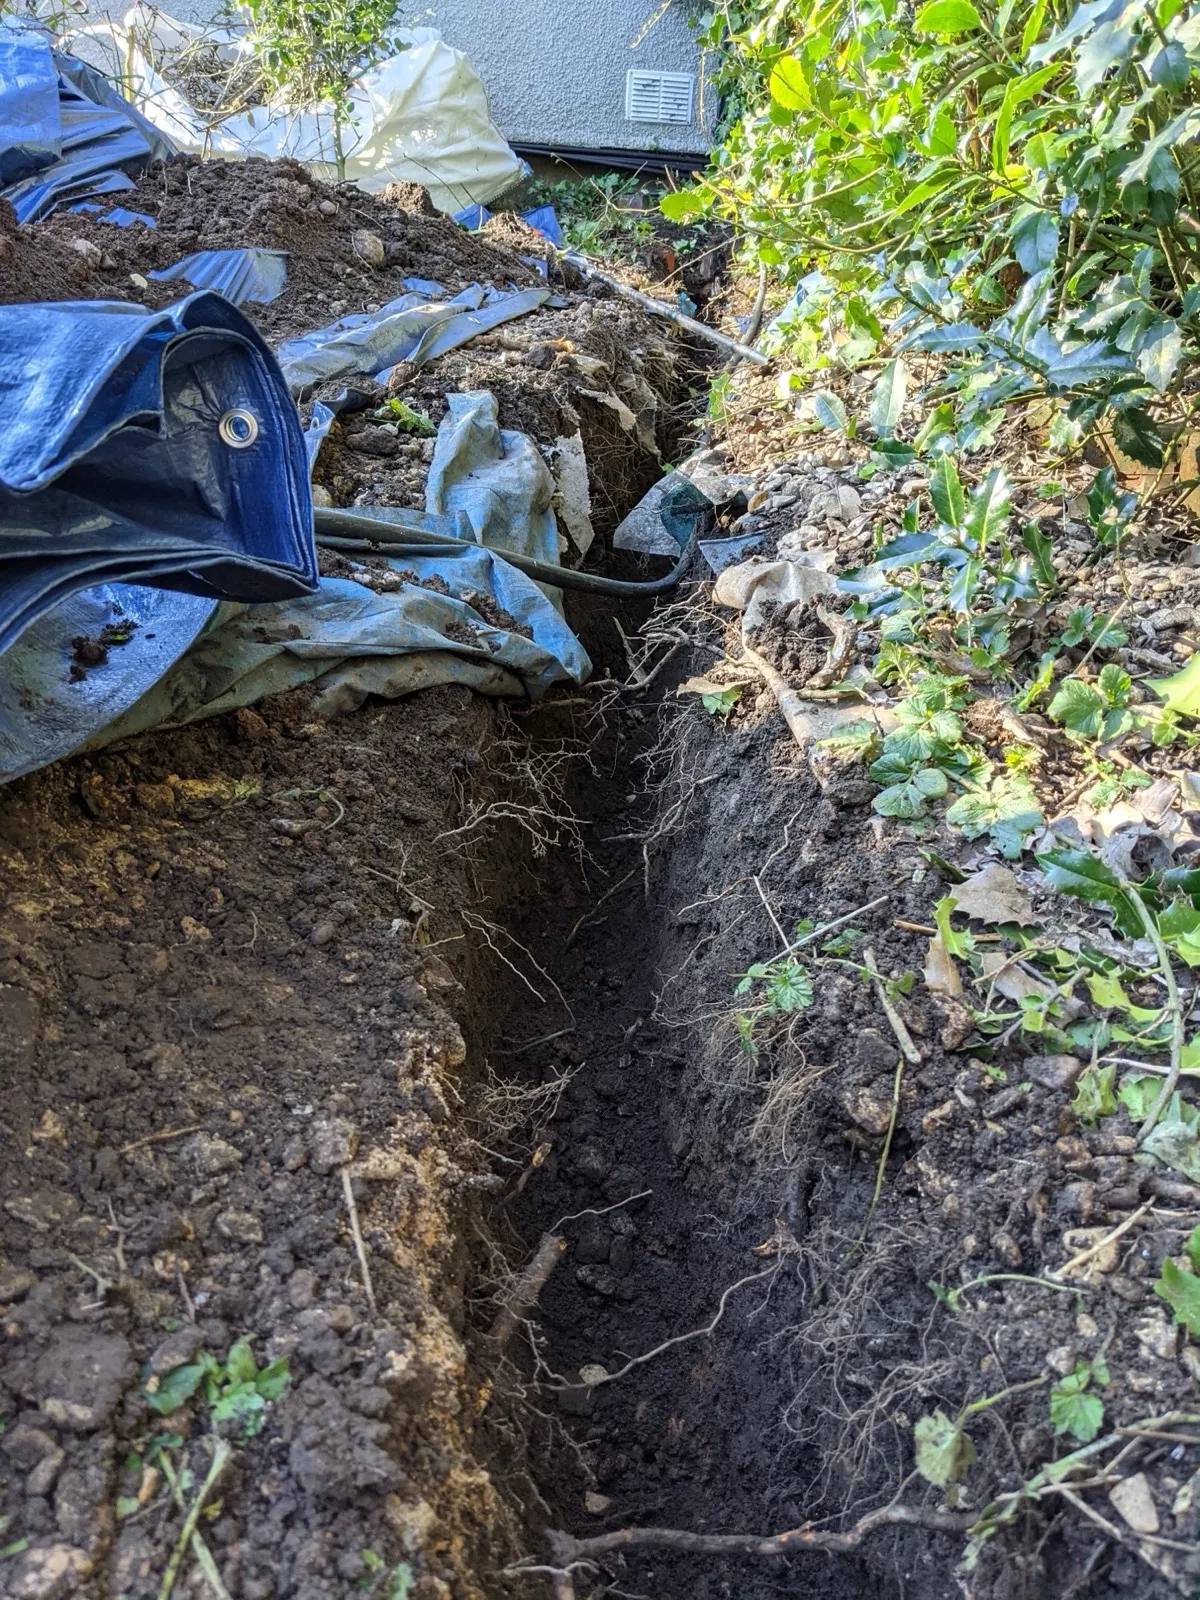
The UK requires that external cables that are buried are around 500mm + deep and have a yellow warning tape on top with a final layer of
gravel to make extra sure someone won’t accidentally dig into the cable! Here’s a picture.
I had to run the cable about 20m from the end of that building (in the photo) to the spot where the office was. THIS TOOK AGES!
Digging is hard, it probably took 2.5 full days digging this by hand. I couldn’t get any machines into the garden because I only have access to the back through a single doorway in the garage.
Along with the power cable I ran 6 CAT6E (internet) cables from the garage, through the building into the trench. This could be done by an electrician if you don’t know how! I saved a few £££ by doing it myself as I work in technology and know what I’m doing.
TIP: If you can hire a trench digging machine DO! Unless your distance is short it will save you A LOT of time.
Ground preparation
2-5 days (spade, wheelbarrow, pickaxe)
Once I had picked a spot and run the power cable the next job was preparing the ground to pour a concrete base. I scraped back all the gravel, piled it up on the other half of the gravel section and removed a layer of hardcore (which I kept for later!). You can see from the picture below that I already had a good solid edge on the back, left and front of the space, so I only needed to screw a plank to the sleepers that run towards the back. (pictured)
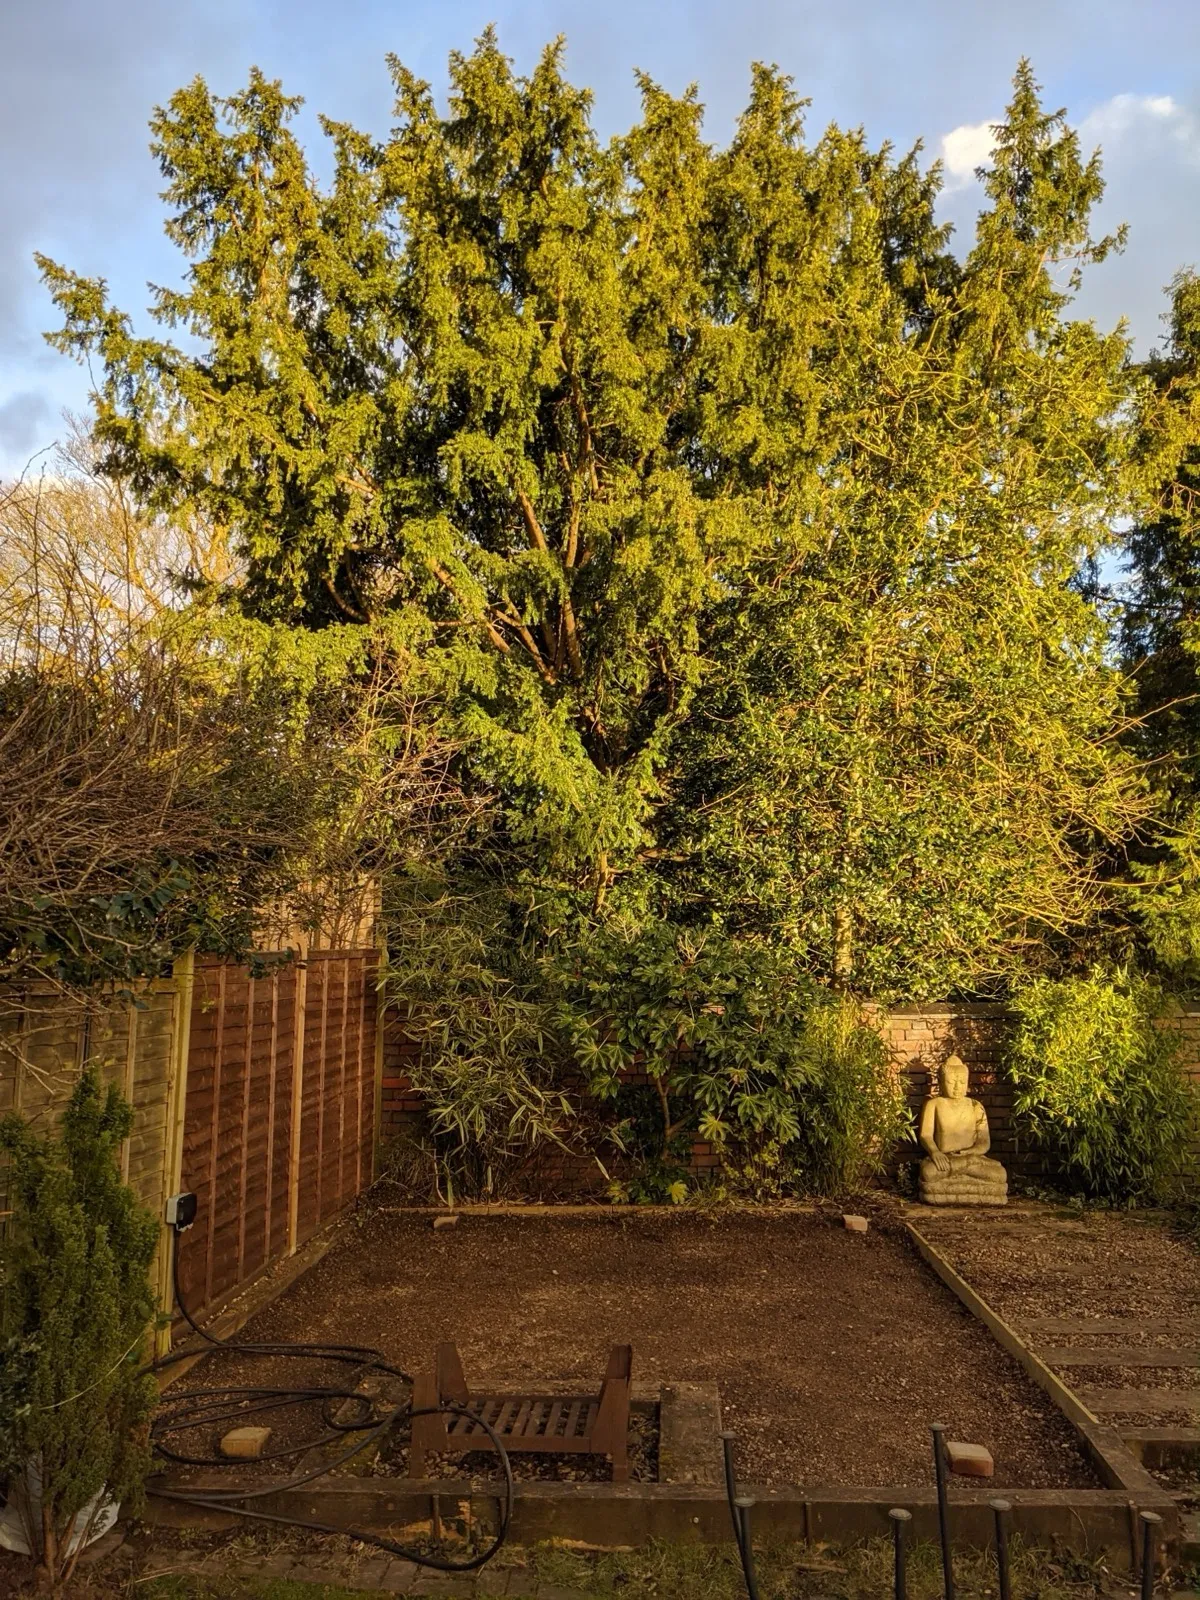
Once that was removed I dug about 30cm (12”) of soil out of the hole and piled it under a tree that was close by.
When the soil was removed I put out 4 corner posts and screwed 6” x 1” shuttering (thin wooden boards to hold back the concrete) using a long 6ft level to make sure it was level! The concrete base was about 20cm larger than the planned size for the building, so 4.2m x 3.2m.
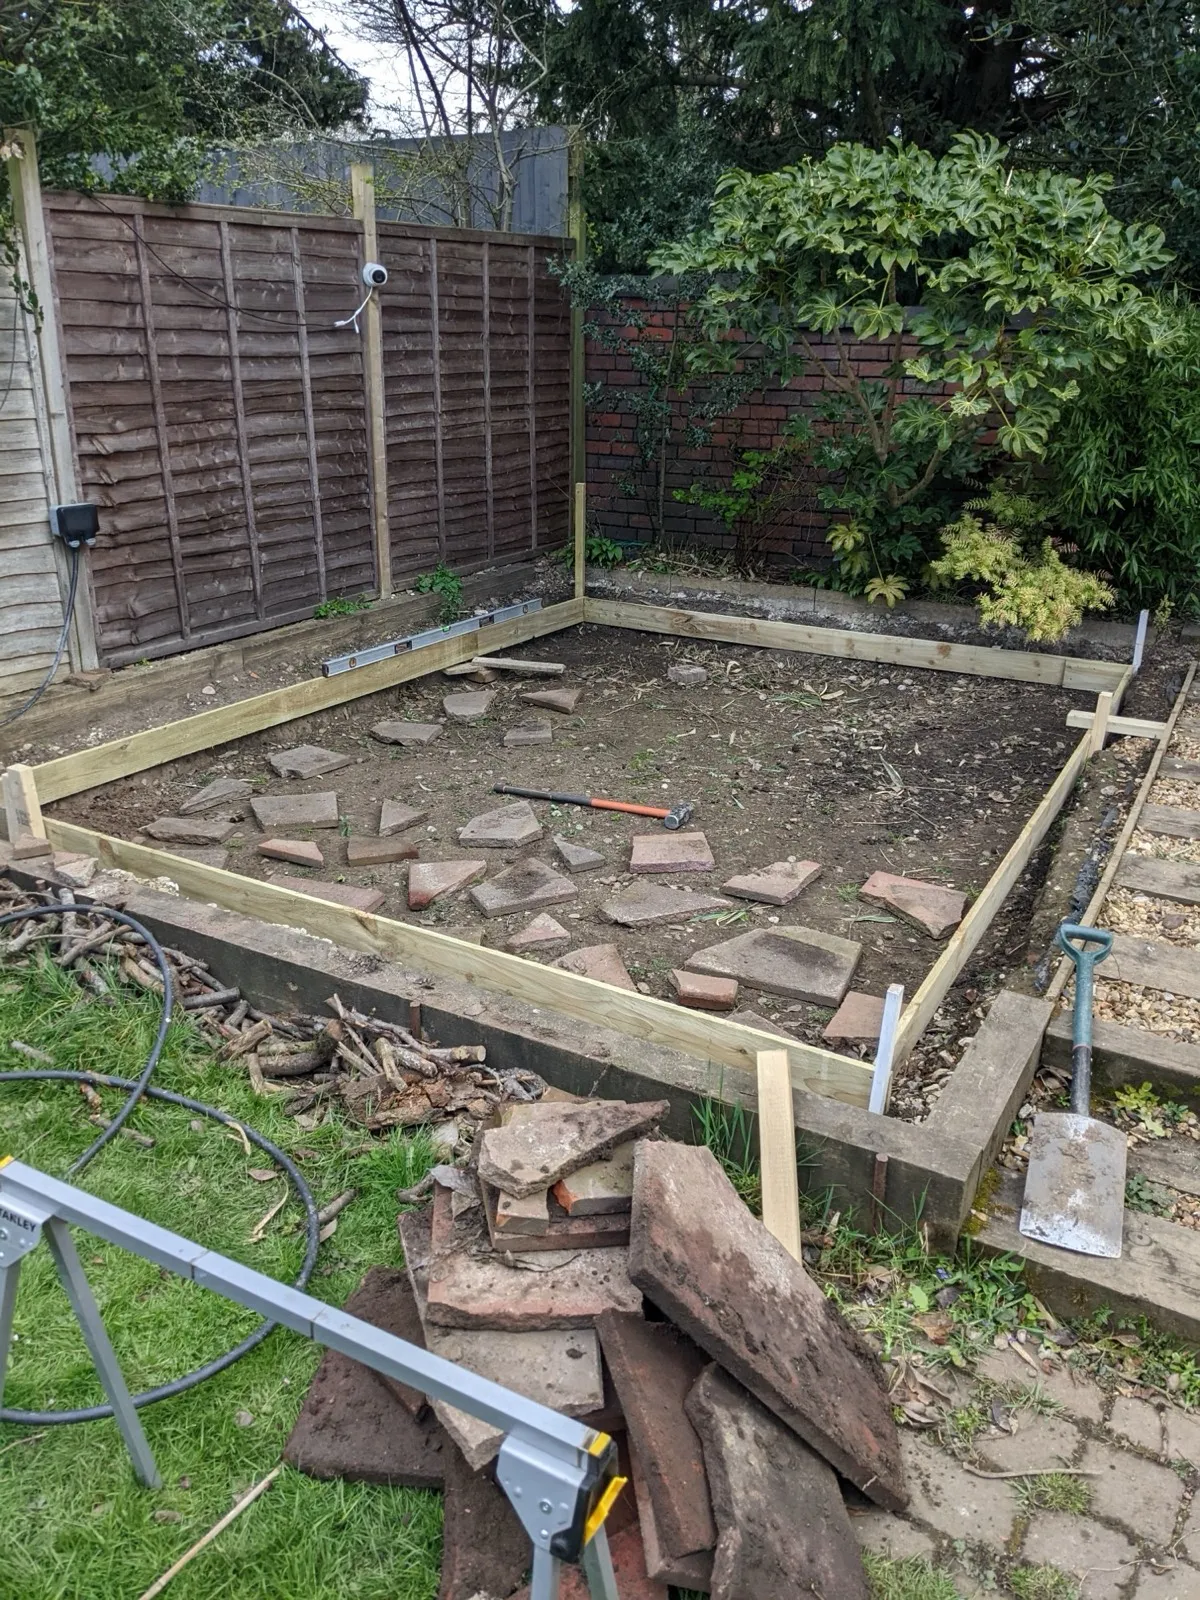
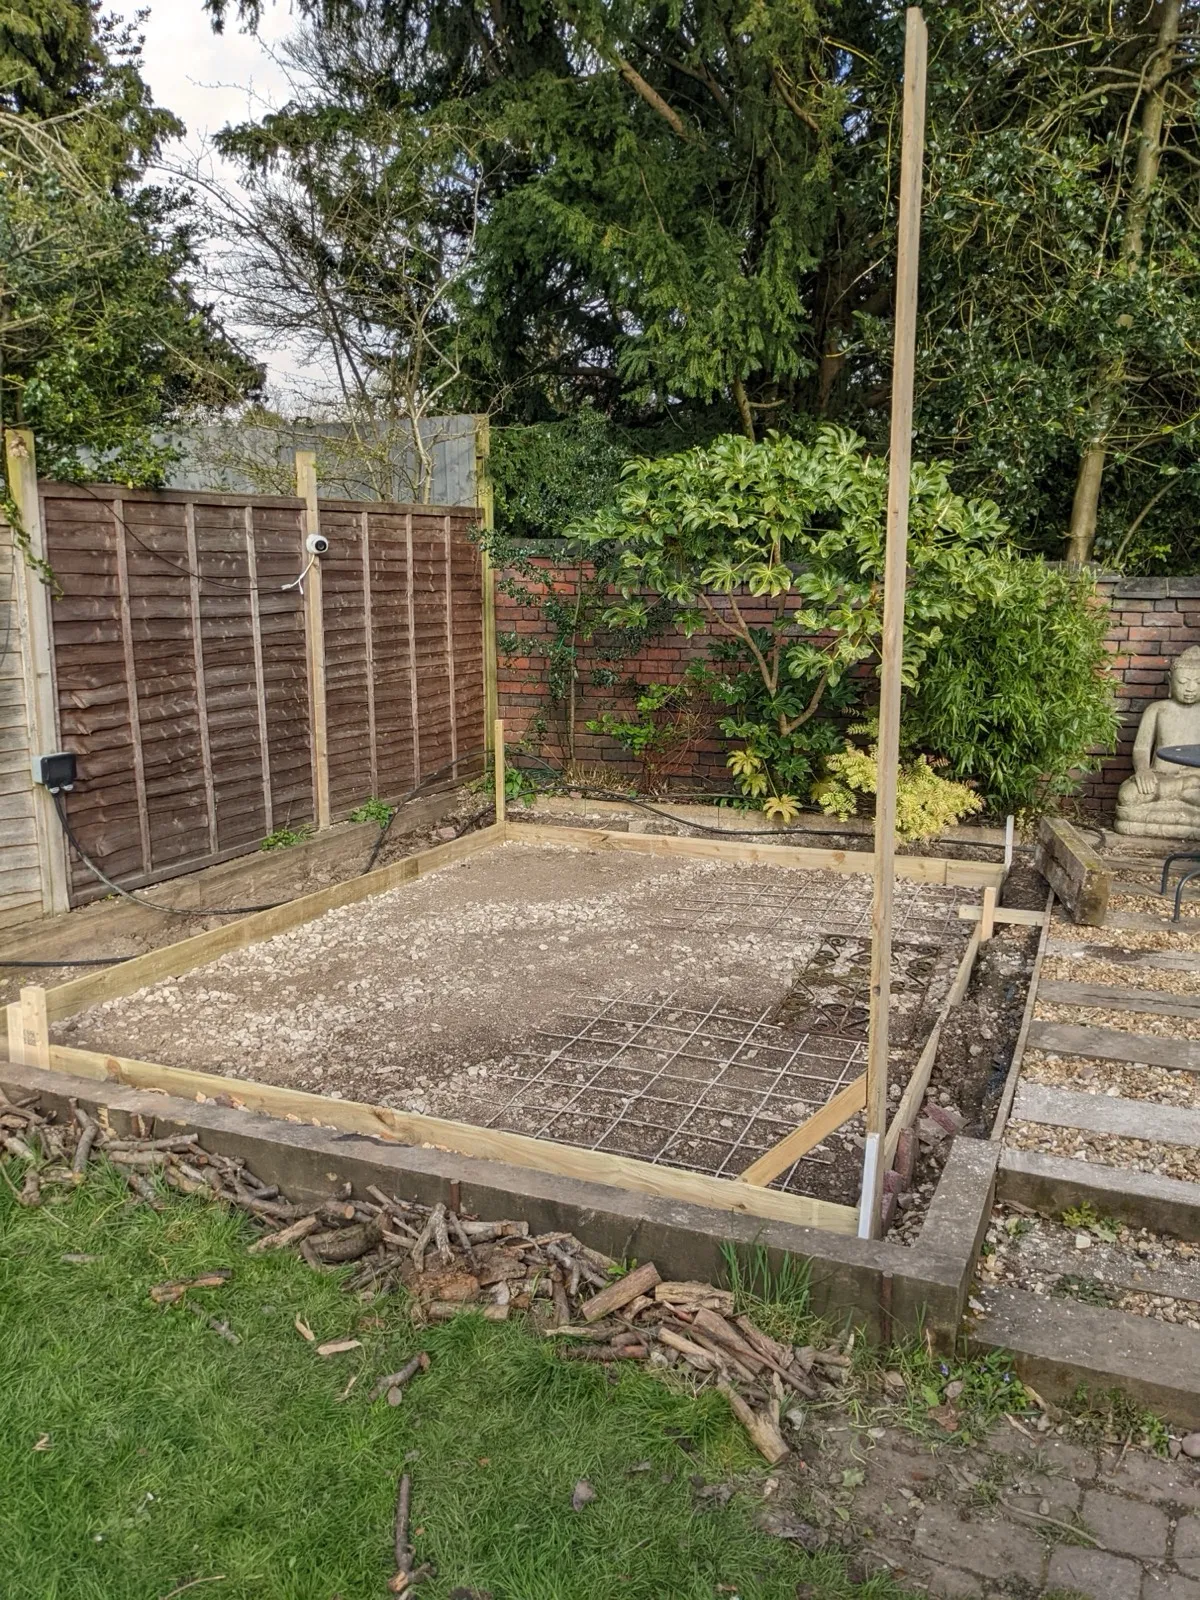
Once the shuttering was level and square(ish) we put back the hardcore into the wood and roughly leveled it with a rake. Once level we used a whacker plate (a machine with a big weight on a flat base plate that bashes down) to compact the hardcore to make a really solid base.
We bought some metal mesh to reinforce the concrete to reduce the chance of cracking once dry.
Concrete
less than 1 day (concrete delivered by lorry. 2 days for self-mix )
We bought a large plastic sheet to go under the concrete as an initial damp proof course (concrete can hold a lot of water so you need to keep as much moisture away as possible or you risk getting damp in your building)
Next job was pouring concrete. There are a few ways to do this, ranging from self-mixing using a cement mixer to getting concrete delivered on a lorry and pumped into place. We had concrete delivered and pumped because we needed about 2.5 cubic meters (probably 1.5-2 days mixing with a cement mixer) We used a pump (expensive! cost about 2x the price of the concrete we pumped) because we had to move the concrete 45m from the road to the site. Wheelbarrowing this would have taken several people a few hours and I’m not strong enough for that!
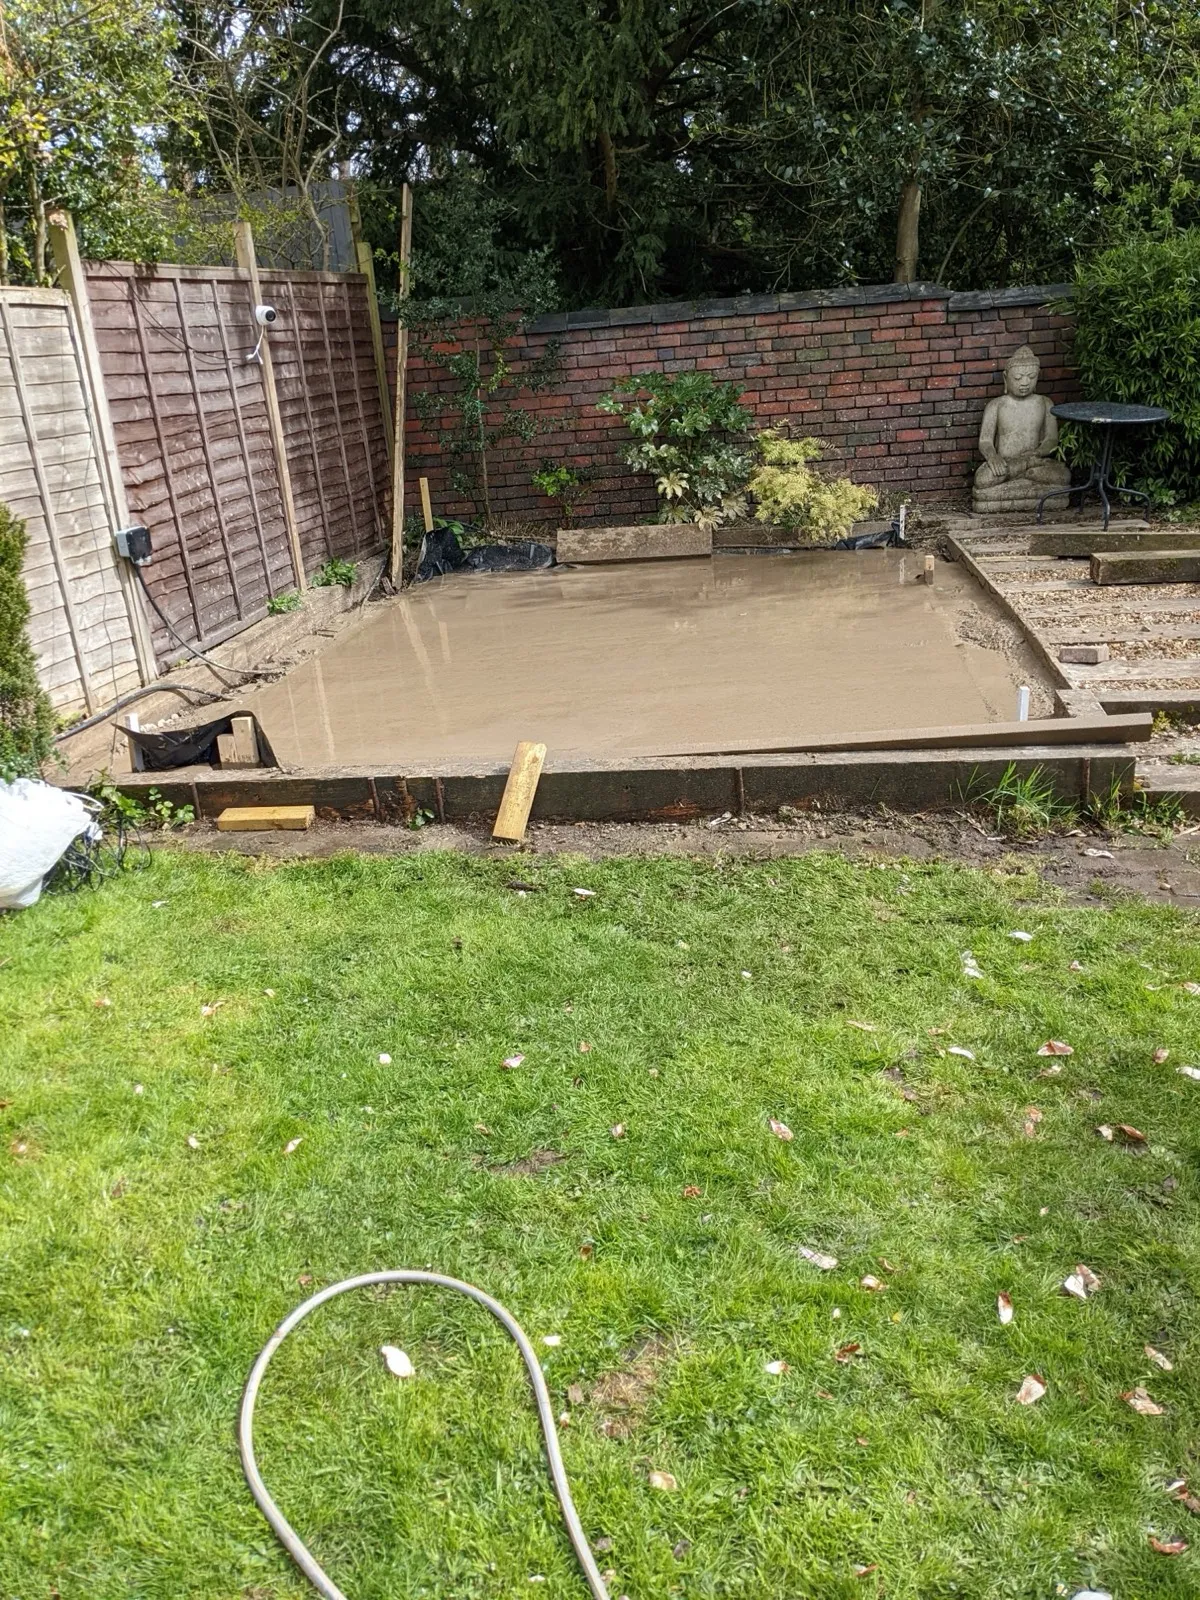
Once the concrete is poured and leveled you need to wait about 3-5 days for it to set.
This is a good time to finalise your wood order and buy insulation.