
My Home Office Build, Part 4: Finishing Off, and Four Years On
Plastering, render, underfloor heating and flooring, what the build cost, and what it's like to work in four years later.
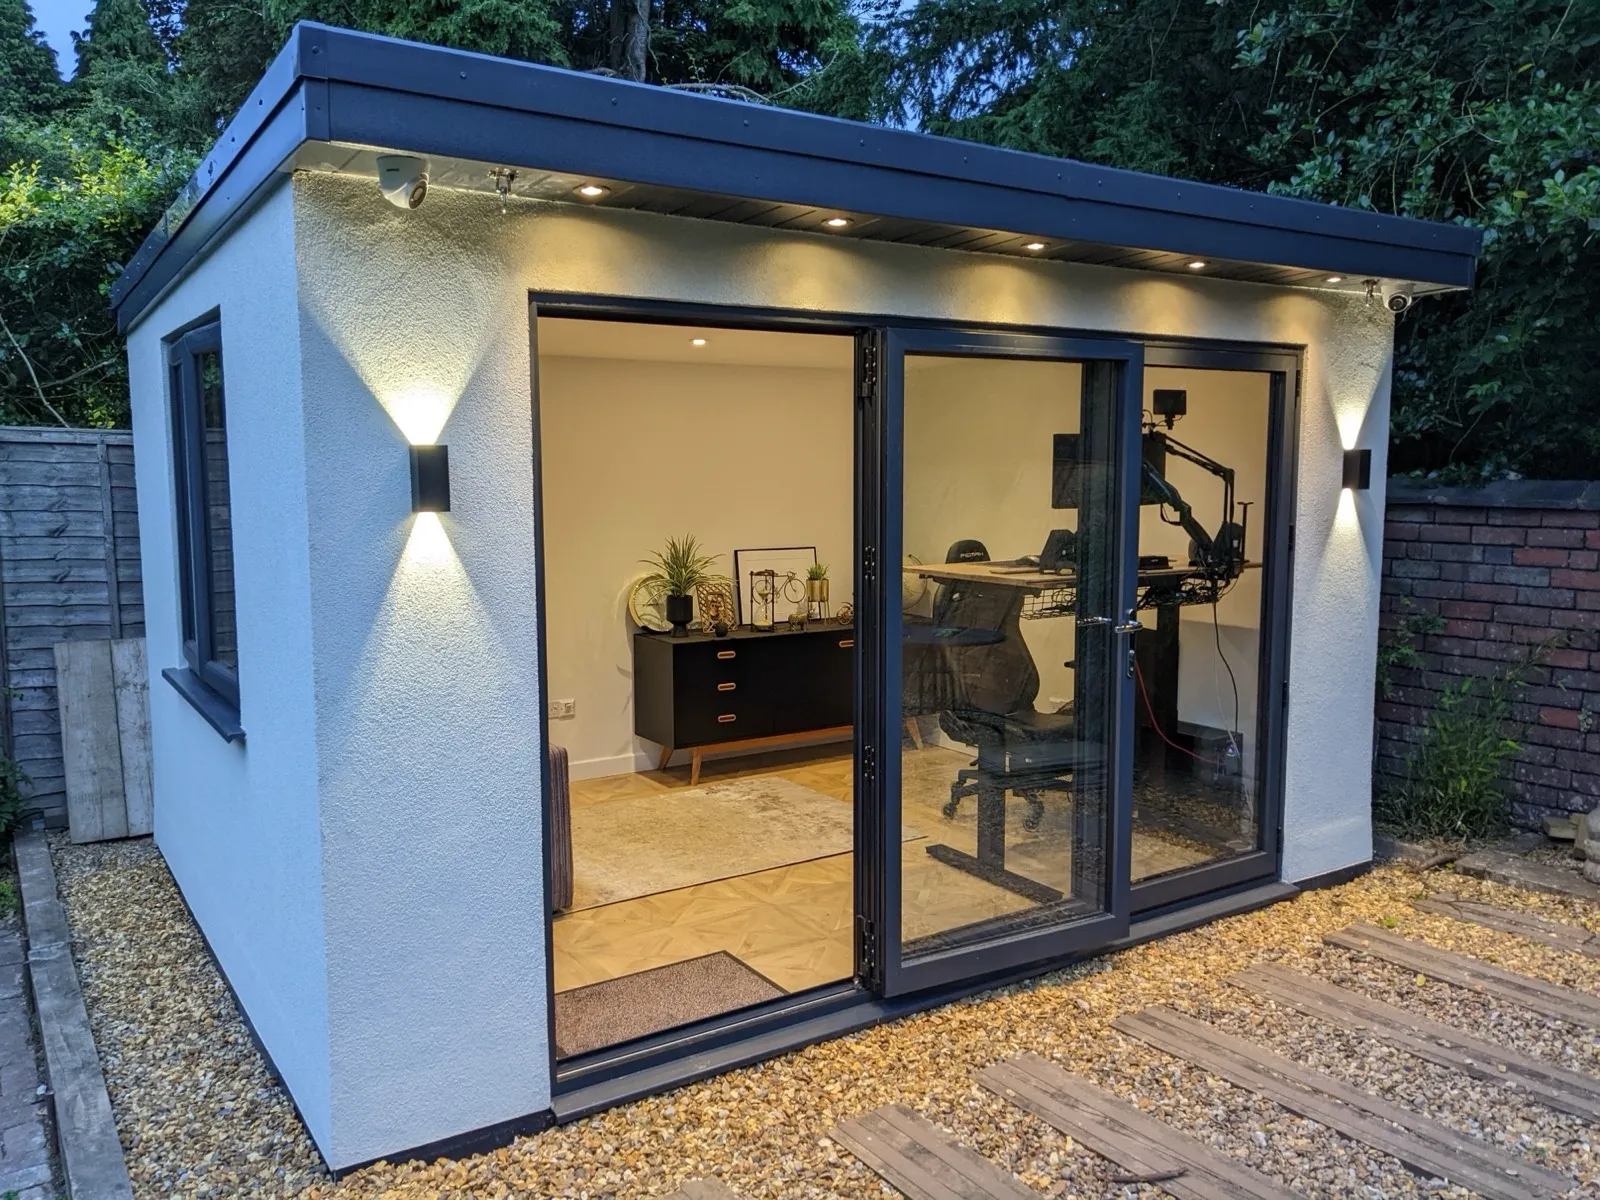
A note from the future: parts 1 to 3 were written in 2022, while the build was still going on. This part was written in October 2026, after four years of working in the office, so it covers how it has held up as well as how it was finished.
At the end of part 3 the office had walls, insulation, plasterboard and doors. It looked like a building, but it definitely wasn’t somewhere you’d want to sit for eight hours a day. This part covers everything it took to get from there to moving in.
Plastering
I fitted all of the plasterboard myself, but I got a plasterer in to skim it. Plastering is HARD!
TIP: Unless you’ve plastered before, this is one job worth paying for. Every imperfection shows once it’s painted.
Painting
Once the plaster had dried out properly, everything got painted white. No feature walls, nothing fancy.
Outside: render, soffits and gutters
The outside walls were rendered in a cream colour to match our house.
The roof slopes towards the back (the 1:40 pitch from part 2), so the gutter and downpipe are at the back. It’s finished with soffit boards, which you can see in the photo at the top of part 1.
Nothing on the outside has been treated or sealed, and four years on it’s all still good with no issues.
Second fix electrics
Second fix is when the sockets, switches and lights actually go on the ends of all the cables from first fix (part 3). It went smoothly. I got an electrician to come and check and certify all of the work, because electrics are a safety thing and not something to guess at.
As for those 10 network points: I use two or three of them. I probably didn’t need them all, but I don’t regret it. Having them everywhere means I can put the desk or the WiFi access point wherever I like.
Underfloor heating and flooring
I installed electric underfloor heating mats myself, then laid laminate on top: large, wide planks. I’ve laid laminate in four or five rooms before, and the floor was completely flat and level because it was a brand new build, so this was one of the easiest jobs of the whole project.
TIP: Lay the flooring before the skirting boards, so the skirting covers the expansion gap around the edges.
Skirting boards
Standard skirting, nothing special. A mitre saw makes the corners easy.
Heating and cooling
Winter: the underfloor heating plus all that insulation from part 3 keeps the office warm. It holds the heat well. On the very coldest days I add an oil-filled radiator.
Summer: this is the one thing I got wrong. The bifold doors face south, and there’s no cooling, so on a sunny day the office gets STUPIDLY hot. Two things help:
- Reflective film on the glass. It made a real difference to how much heat comes in through the doors.
- Opening the bifolds right up to let the hot air out.
Moving in
The office is set up with a standing desk, an office chair, a sofa and a rug. Behind me there’s a sideboard with photos and trinkets, including photos of places I’ve been on holiday.
Four years on
I’ve worked in the office for four years now, and the only real maintenance has been:
- Clearing leaves off the roof.
- Clearing the gutter and downpipe. It backed up once because of leaves. Now I clear it every six months or so, and it hasn’t happened again.
- Trimming back the bushes behind the office so they don’t rub against the roof.
That’s it!
What would I do differently?
Not a lot. The big one is that I wouldn’t make it south facing. Big glass doors facing south look great, but in summer the office is so, so hot. If I built another one, I’d face the glass away from the midday sun or plan for cooling from the start.
Time, cost and tools
Time: about two months from start to finish. That was evenings, weekends and a week off work.
Cost: about £15,000 in total. That’s not cheap! The biggest costs were:
- The electrician, including getting power down to the bottom of the garden
- The plasterer
- The bifold doors and the window, which were expensive
- The concrete pump. Looking back, the base was probably overkill!
Tools: if I could recommend one thing, it’s hiring a trench digger. Digging the 20m cable trench by hand (part 1) was the hardest part of the whole build.
Thanks!
A big thank you to my electrician, the plasterer, and the window and door fitters. And to the friends and family who helped out along the way: all the “we” in this series.